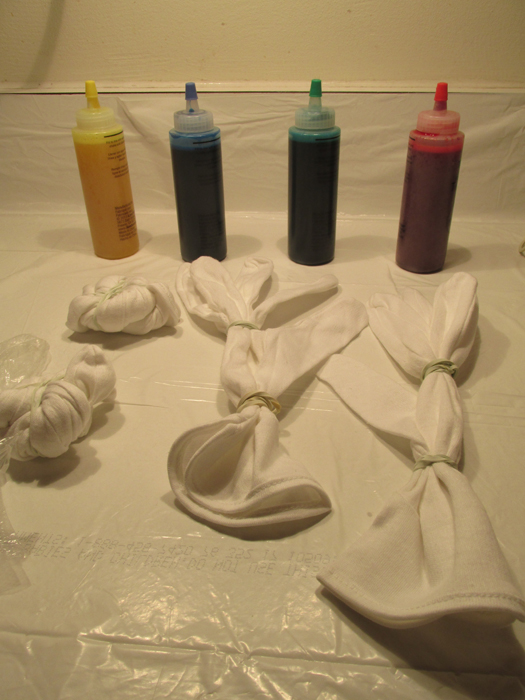
Love the idea of having a uniquely colorful pair of gloves to ring in? It’s easy these days with Tie-Dye kits, which include everything you need from squirt bottles of permanent dye to rubber bands. Tie-Dye kits are available at your local fabric or craft store and on-line. Choose clean, all-cotton white gloves. The ones with the dots will work, but those with Velcro wrists are trickier.
Find a clean, dry surface, and protect it with a plastic garbage bag. Remember to keep all items used for dyeing separate from items you use for cooking. Read all the directions with the Tie-Dye kit you have chosen and gather all the supplies before you begin. If you tend to need an apron when you cook or paint, put one on for this. If you don’t want your hands to be gloriously colored, put some waterproof gloves on. Be prepared to clean up any spills right away. This is permanent dye!
Decide if you will start with gloves dry or wet but not dripping. Note that dye on wet gloves will travel through and be more readily absorbed by the cloth, while dye on dry gloves will need to be worked into the cloth with your hands and may result in white areas which have not absorbed color.
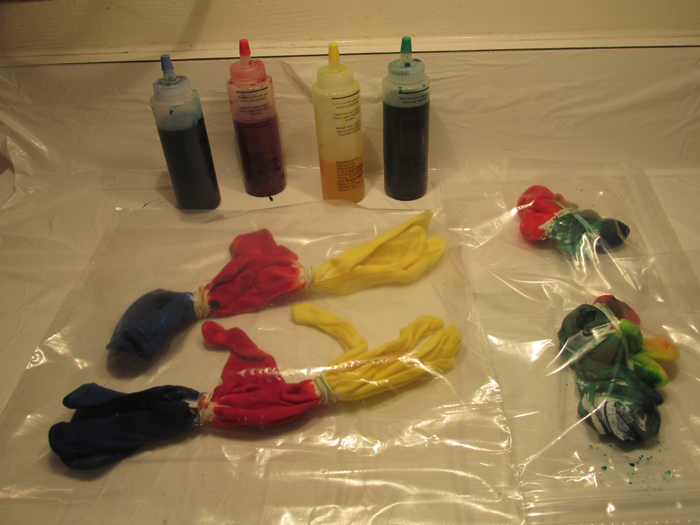
If you are using rubber bands to section the gloves for lots of colors or to try patterning, remember that the dye won’t be absorbed and do the job if it can’t reach the fabric of the gloves. Balling up a glove may leave some white areas in the middle if the dye does not reach the center of the ball.
Now the fun part! Choose your colors and start applying dye to the gloves. Remember those color rules from school to avoid a glove which turns out to be all browns or greys. Mixing red dye with green, blue dye with orange, or yellow dye with purple will result in a muddy color.
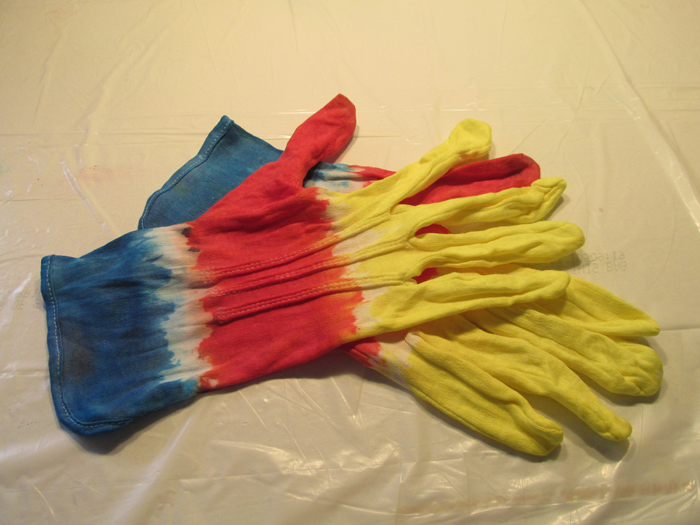
The hard part is waiting the required length of time before removing the rubber bands to see how your gloves turned out. Follow any directions in the kit for time to allow color to set, rinsing, and washing of your gloves. Now you will never mix your gloves up with your neighbor’s again!


